How to make delicious Hokkaido Milk Bread

If you’re looking for a soft, fluffy, and slightly sweet bread, Hokkaido Milk Bread is the perfect choice. With its pillowy texture, this bread offers a delightful experience for any meal, from breakfast to a light snack. Not only is it delicious, but it’s also nutritious, keeping you feeling satisfied throughout the day.
Why is Hokkaido Milk Bread so beloved?
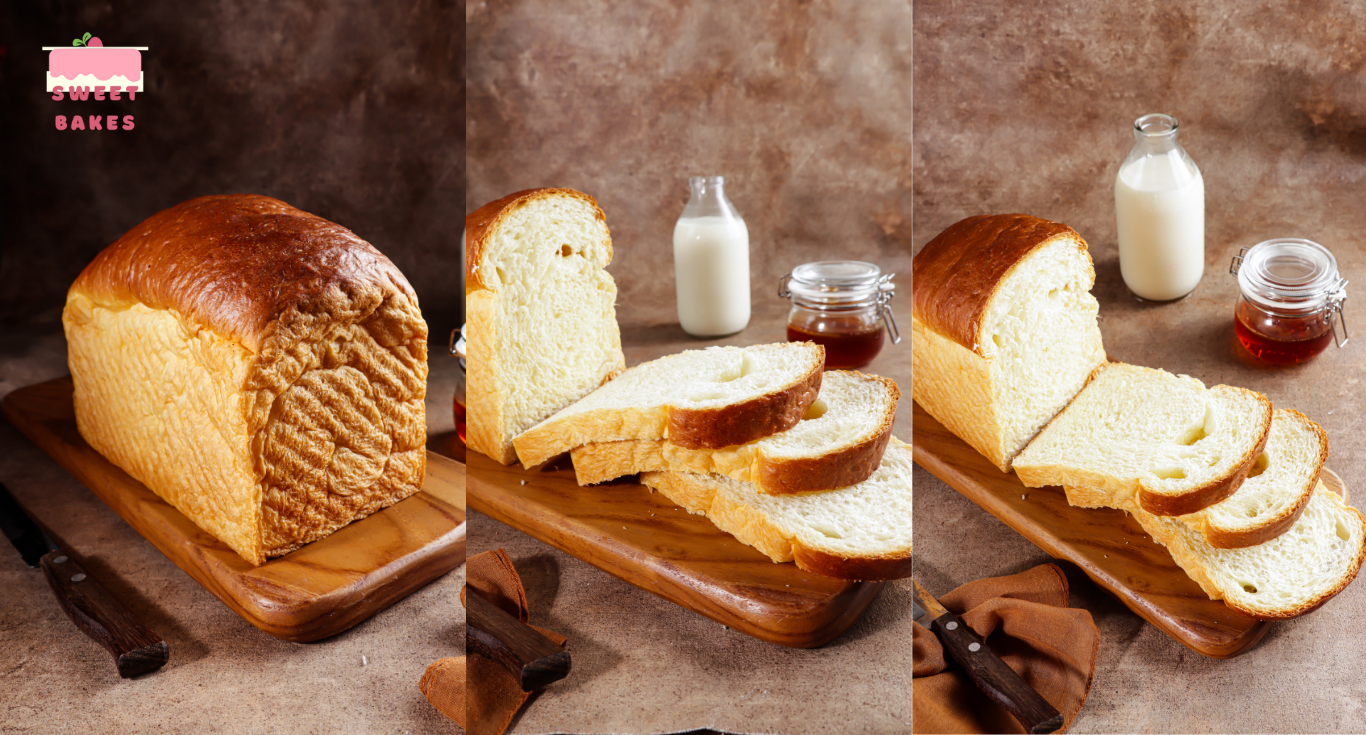
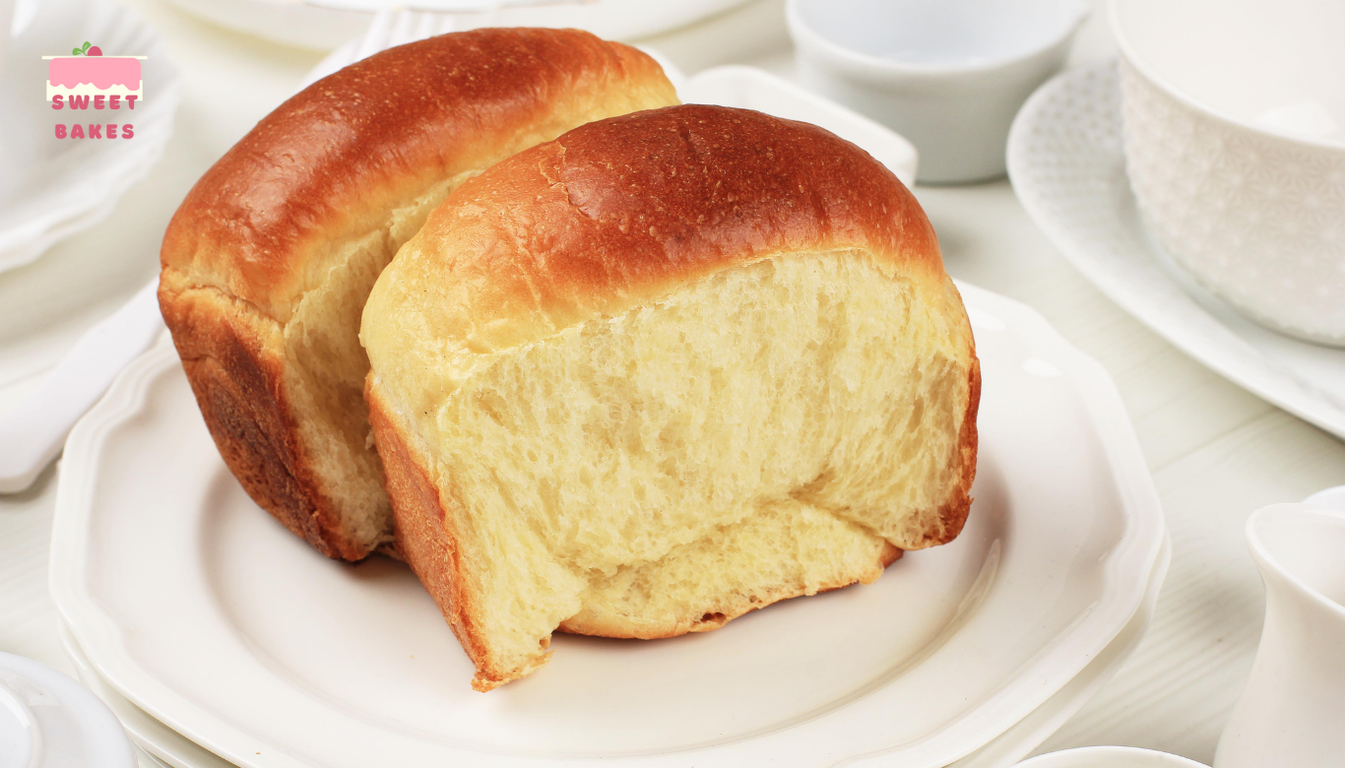
Hokkaido Milk Bread is famous for its light and soft texture, paired with a subtle sweetness from fresh milk. Made using high-quality Hokkaido milk, this bread has the perfect balance of moisture, elasticity, and a lovely fragrance. It’s ideal for pairing with butter, fruit jam, or simply enjoying on its own.
Benefits of Hokkaido Milk Bread:
- Soft and Fluffy: The bread’s light, soft texture offers a delightful bite right from the first mouthful.
- Fresh, High-Quality Ingredients: The use of fresh milk and butter creates a creamy, natural flavor.
- Versatile: This bread can be paired with various toppings like jam, butter, or used to make sandwiches, garlic bread, or toast.
- Nutrient-Rich: Made from high-quality ingredients, this bread provides the necessary energy without feeling too heavy.
Detailed Instructions for Hokkaido Milk Bread

Ingredients:
- 250g all-purpose flour
- 50g sugar
- 3g salt
- 3g instant yeast
- 1 egg
- 100ml Hokkaido milk (or any full-fat milk)
- 30g unsalted butter (softened)
Instructions:
- Mix the Dough:
Mix the flour, sugar, salt, and yeast together in a large bowl. Beat the egg lightly and add it to the flour mixture along with the milk. Using a stand mixer (or by hand), knead the dough until it becomes smooth and elastic, about 10-15 minutes. If kneading by hand, continue until the dough no longer sticks to your hands. - Incorporate the Butter:
Once the dough is smooth, add the softened butter and continue kneading until the butter is fully absorbed. The dough should become glossy and elastic. - First Proof:
Place the dough in a large bowl, cover with a damp cloth or plastic wrap, and let it rise for 1-1.5 hours, or until it doubles in size. - Shape the Bread:
After the dough has risen, gently punch it down to remove air. Divide the dough into equal portions, shape each portion into a ball, and place them in a baking pan lined with parchment paper. - Bake the Bread:
Preheat the oven to 180°C (350°F). Bake the bread for 20-25 minutes until golden brown and fragrant. - Finish and Serve:
Allow the bread to rest for a few minutes to cool before taking it out of the pan. Enjoy warm with butter or jam.
Top Baking Tools for Perfect Results
- Stand Mixer:
A stand mixer makes kneading dough much easier, especially for recipes that require thorough kneading like Hokkaido Milk Bread. - Kitchen Scale:
A digital kitchen scale ensures accurate measurements, which is crucial for consistent results in baking. - Baking Pans:
Quality baking pans ensure even baking and prevent sticking. You can use round pans, loaf pans, or even cupcake molds for mini milk bread. - Hand Mixer:
If you don’t have a stand mixer, a hand mixer with dough hooks is a great alternative for mixing and kneading. - Oven Thermometer:
To ensure your bread bakes at the correct temperature, an oven thermometer helps verify the actual temperature of your oven. - Whisk:
A whisk is essential for mixing liquid ingredients like eggs and milk smoothly. - Rolling Pin:
A rolling pin helps create even layers when working with dough for bread or pastries. - Sieve:
A sieve helps sift flour to eliminate lumps and create a finer, smoother dough texture.
FAQs – Frequently Asked Questions About Hokkaido Milk Bread
1. Why didn’t my bread rise properly?
Answer: The yeast may not have activated properly. Check the expiration date of your yeast, and ensure the temperature of your liquid is neither too hot nor too cold (ideally around 105°F/40°C) when proofing the dough.
2. Can I substitute Hokkaido milk with another type of milk?
Answer: Yes, you can substitute with any full-fat milk. While Hokkaido milk has a rich flavor, other full-fat milks will yield similar results.
3. How can I prevent the bread from sticking to the pan?
Answer: Use parchment paper to line your pan or grease the pan with a thin layer of butter and sprinkle with flour to prevent sticking.
4. How do I store Hokkaido Milk Bread?
Answer: Store the bread in an airtight bag or container at room temperature for 2-3 days. To store the bread for a longer time, cover it in plastic wrap and freeze.
5. How long should I knead the dough?
Answer: The dough is ready when it’s smooth, elastic, and can form a thin membrane without tearing (the windowpane test). This usually takes about 10-15 minutes.
Baking Tips and Tricks for Success
- Use an Oven Thermometer:
The right oven temperature is crucial for baking. Check the actual temperature with a thermometer to avoid under- or over-baking. - Proper Proofing:
Allow the dough to rise in a warm area that is free from drafts. If your kitchen is cold, you can proof the dough in an oven with just the oven light on. - Control Dough Moisture:
The moisture in the dough is key to soft bread. If the dough feels too dry, add a little more milk; if too wet, sprinkle in some flour gradually. - Use Room Temperature Eggs:
Room temperature eggs blend better with the dough, ensuring a smoother texture and better rise. - Test with a Small Batch:
If unsure of the recipe or oven settings, bake a small batch first to test, then adjust as necessary.
With these detailed instructions, essential baking tools, FAQs, and tips, you’re well on your way to mastering the art of Hokkaido Milk Bread and many other delightful baked goods. Happy baking!